This past weekend, my husband and I set out to get our daughter’s playroom under control. I am kicking myself for not capturing a “before” state picture but I’m also grateful because it was awful and would have been so embarrassing to share. Almost every inch of the floor was covered with toys, dolls, parts of toys, doll clothing – – you get the picture. We needed off the hamster wheel of attempting to clean up the mess with nowhere to go with anything except the floor. We knew we didn’t need a complete overhaul, just a simple playroom refresh.
In this post, I’ll share the simple steps we took to get the playroom organized and make it a space that we could all enjoy to be in together.

step 1: Choose Focal pieces
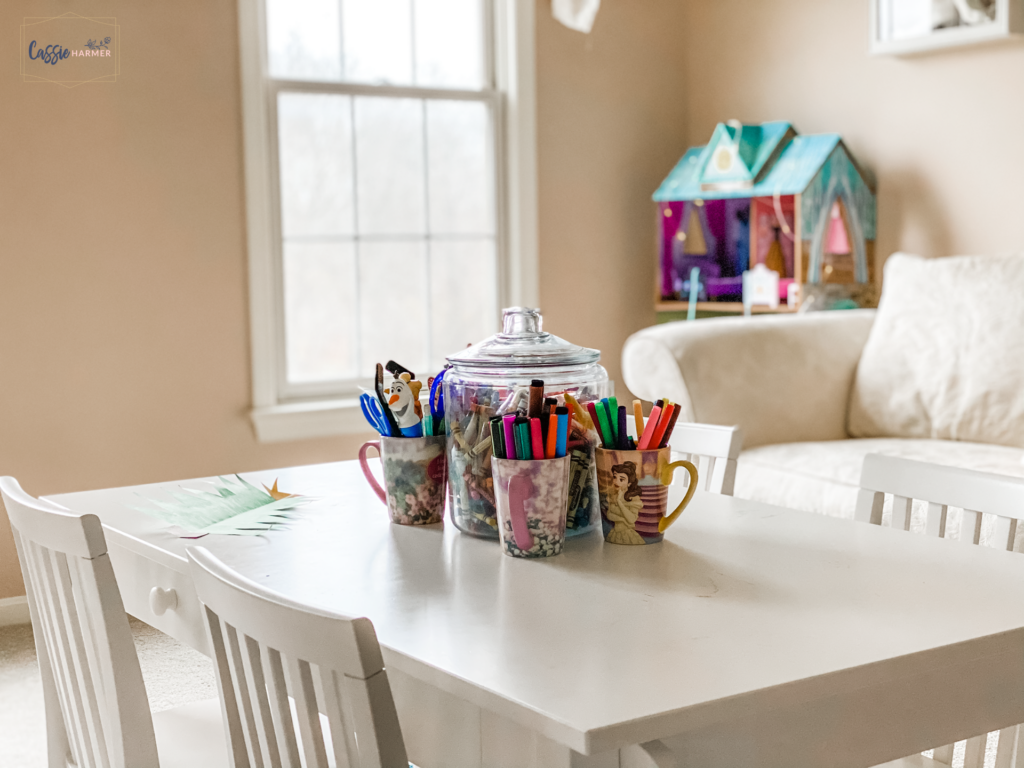
Craft table
We started with deciding to bring the craft table we had purchased years before out of the basement. It was barely used until earlier this year when my husband commandeered it as part of his make shift home office. Our daughter loved the idea and so we decided to purchase additional chairs so we all could sit around the table together. It’s a tight fit, for sure but better than sitting on the floor. (Pottery Barn Kids Craft Table, $269)
floor rug
Bringing the craft table into the carpeted playroom meant needing a rug to catch any falling markers, glue or other messy fun art stuff. (Wayfair Huey multicolor rug, $65.99)
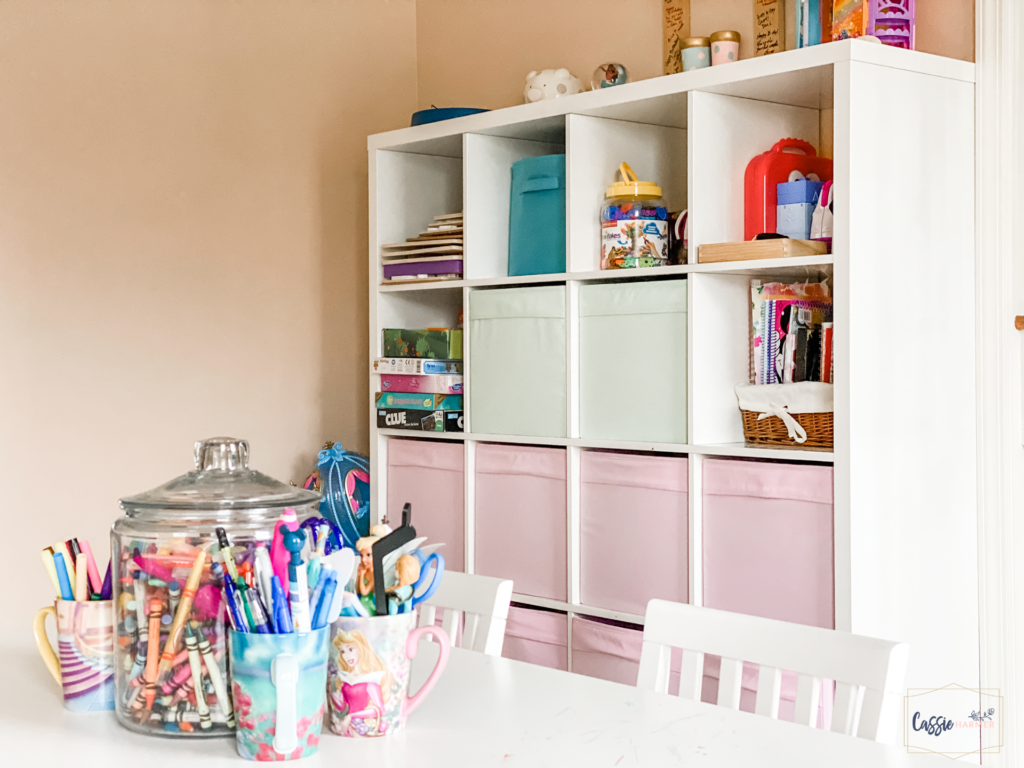
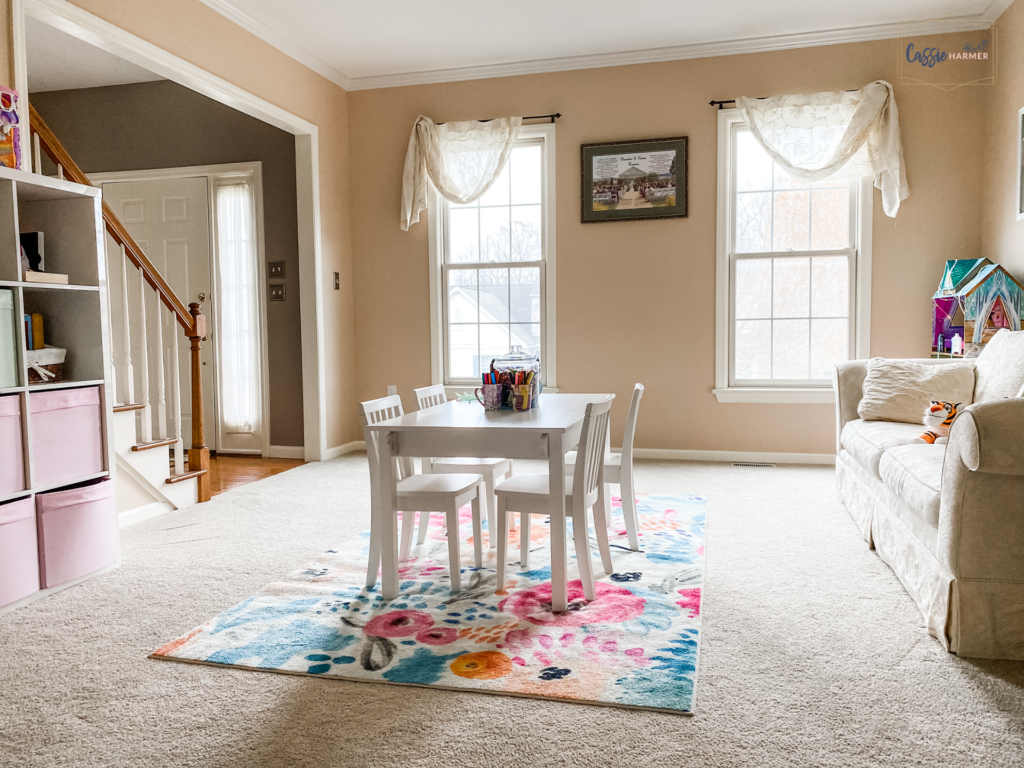
bookcase / shelf unit
The shelf unit has been a staple in this room since our daughter was born – – five years ago. It is incredibly versatile and can be used as a simple bookshelf or combined with cubes, a great cubby system. (Ikea Kallax shelf unit, white, $119 – – cubes sold separately)
Step 2: deep declutter
Step 2 was to do – – the dreaded “D” word: declutter. If you’re anything like us, this very word likely makes you want to run screaming out of the house. Decluttering your own stuff is hard enough, but embarking on downsizing the things that belong to the tiny human living inside your house? Well that’s almost an impossible task. But remarkably, we made it through this (the longest step of the process, mind you) with very little tears – – from our daughter or from us! Here’s how:
- Prepare. It started at the breakfast table. Over cinnamon rolls (ok, so a very subtle bribe may have been used), we explained to our daughter that today we were going to help make her playroom more fun. And we asked for and expected her help – – it would take all of us, working together, to make this happen. And the funny thing was, she was actually excited.
- Evaluate. This part was, by far, the hardest. No matter how disorganized it was from the start, it had to get worse TO get better. We took each and every toy or item and dumped every storage bin in the middle of the floor. And we took stock of everything that was in the playroom and, one by one, organized them into categories – – kitchen, dress up, books, dolls, puzzles, etc. Then, we decided whether to keep, donate or toss.
- Include. We let our daughter weigh in on almost every decision. We didn’t survey her on every piece of paper or broken toy, but she decided whether she was ready to part with her stuff. And she surprised us! We ended up with a giant bag of items to donate – – a Fisher Price princess castle, Fisher Price baby cash register, Mr. Potato Head collection – – all her decisions to part with. YES!
- Execute. Of the items we were to keep (and there were still more than enough), we identified a new home for all of the categories. Some didn’t stay in the playroom but went to our daughter’s room or other areas of the house. With what remained, we moved on to Step 3.
Step 3: create stations
For Step 3, we created stations or specific areas for play. We created the following areas:
Station 1 – Craft Table for arts and crafts
Station 2 – Princess castle for all things Barbie play
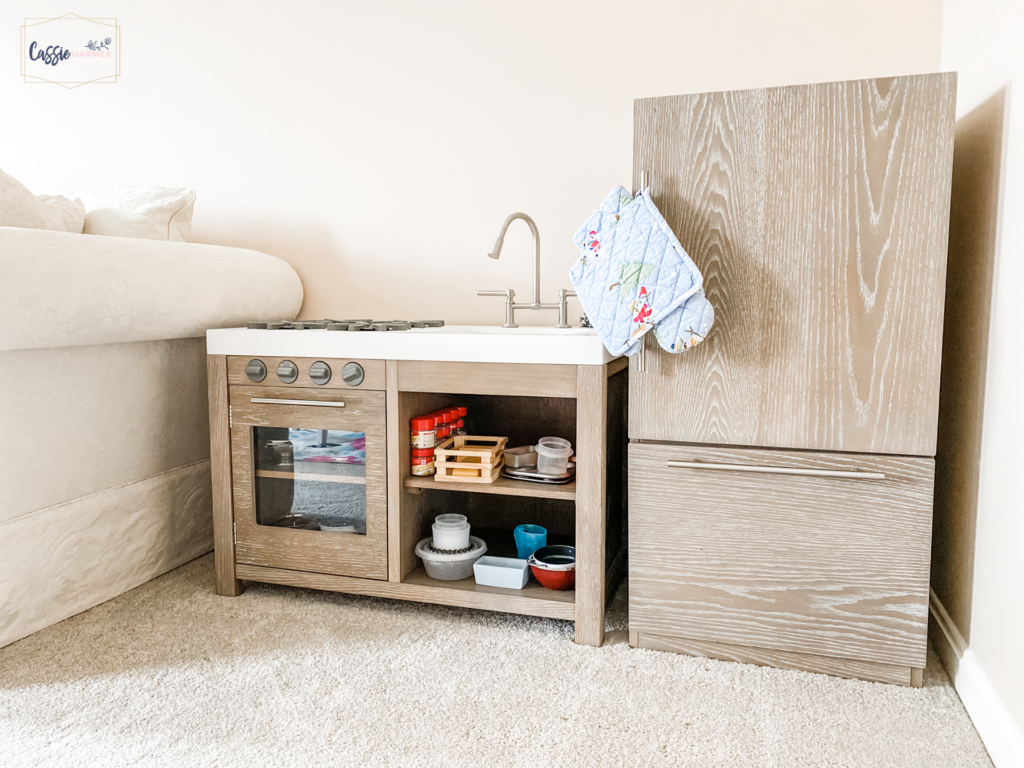
Station 3 – Kitchen area for dramatic play
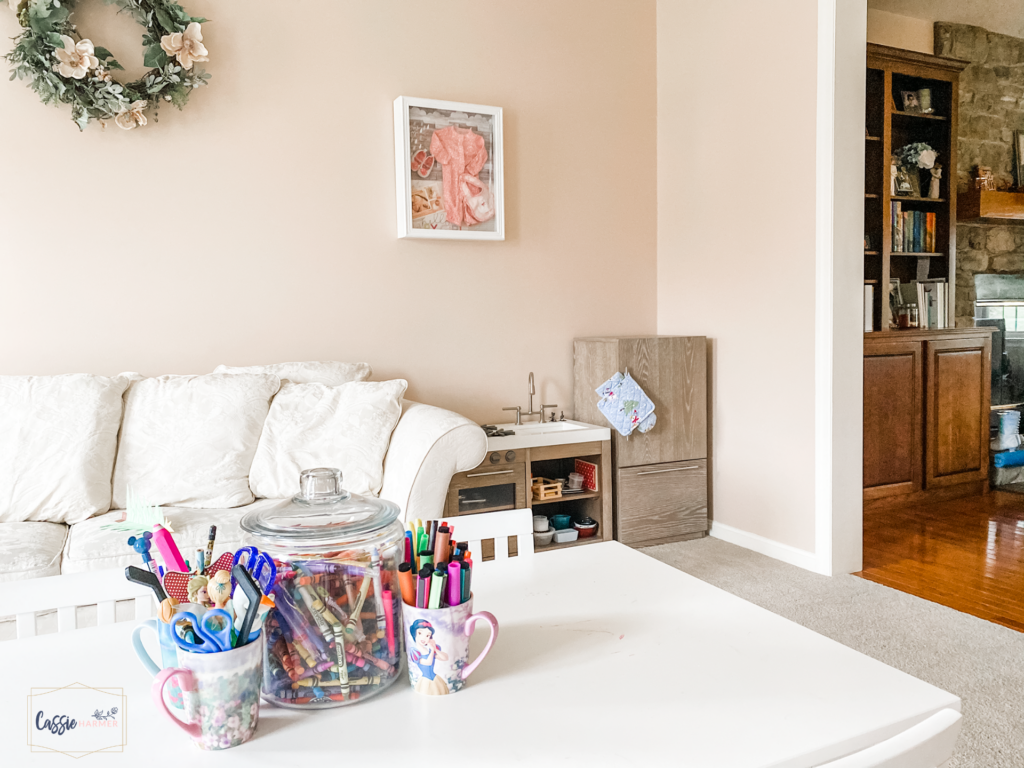
As you can see, creating stations or special areas didn’t have to be difficult. The only thing separating some of these areas was just a couch! You can use almost anything to create separation and this helps your kiddos know where everything goes AFTER they are finished playing with it next time.
Some other ideas for stations – – a reading nook, a dramatic play or dress up area or any other activity that your child loves and enjoys.
And that’s it – – just a few simple steps to refresh your playroom or space! The most important thing is that it’s a space that’s inviting for both your child and for your whole family! Try things out and if they don’t work, try something else! Ok, after all that hard work, it’s time to get some playtime!
Until next time!
XOXO,